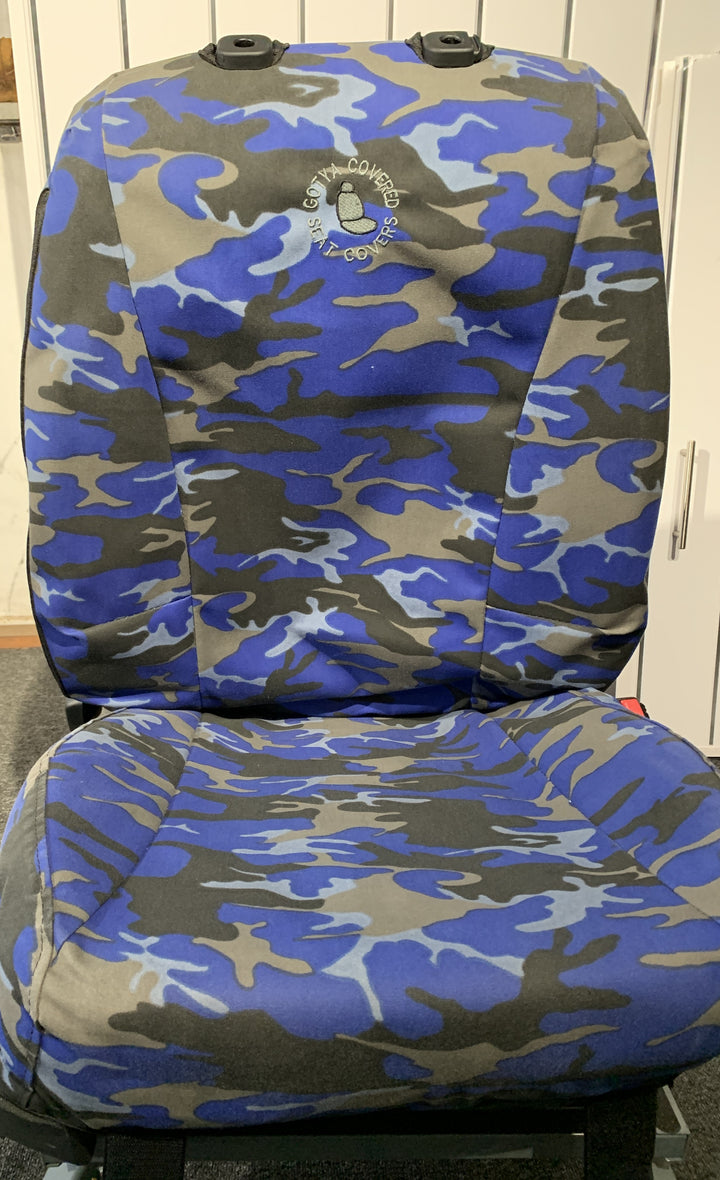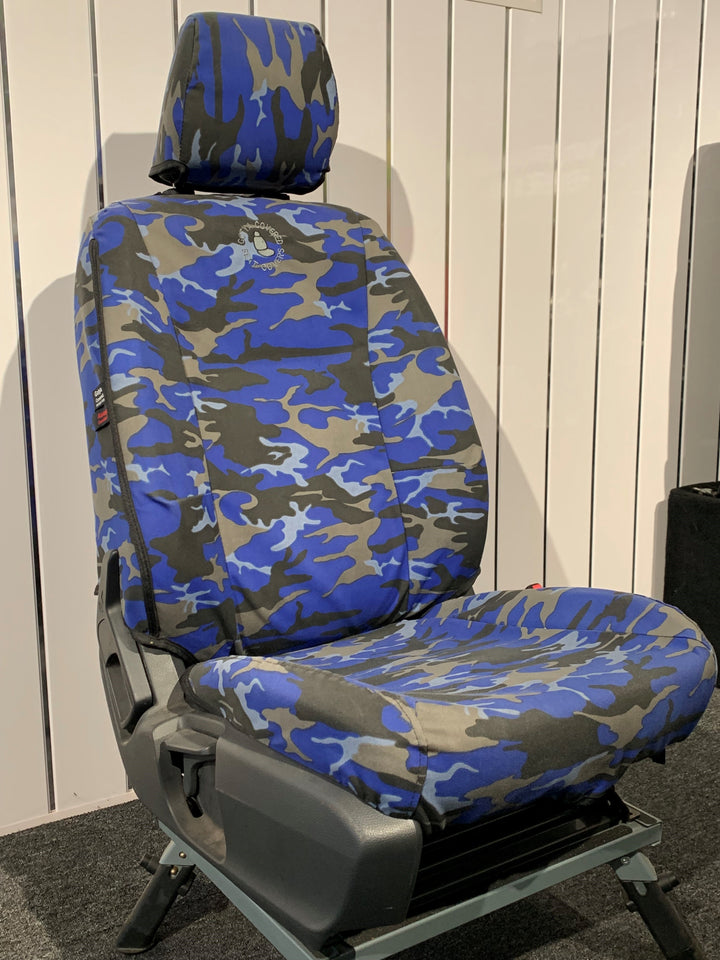
SEAT COVER FITTING INSTRUCTIONS
Fitting your Gotya Covered seat covers is straightforward with our step-by-step instructions. Designed to fit your specific make and model, our seat covers ensure a snug, reliable fit to keep your interior protected and looking great.
Easy fit, ultimate protection
HOW TO FIT YOUR GOTYA COVERED SEAT COVERS
Contact Us CLEANING INSTRUCTIONS
FITTING BACK OF SEATS

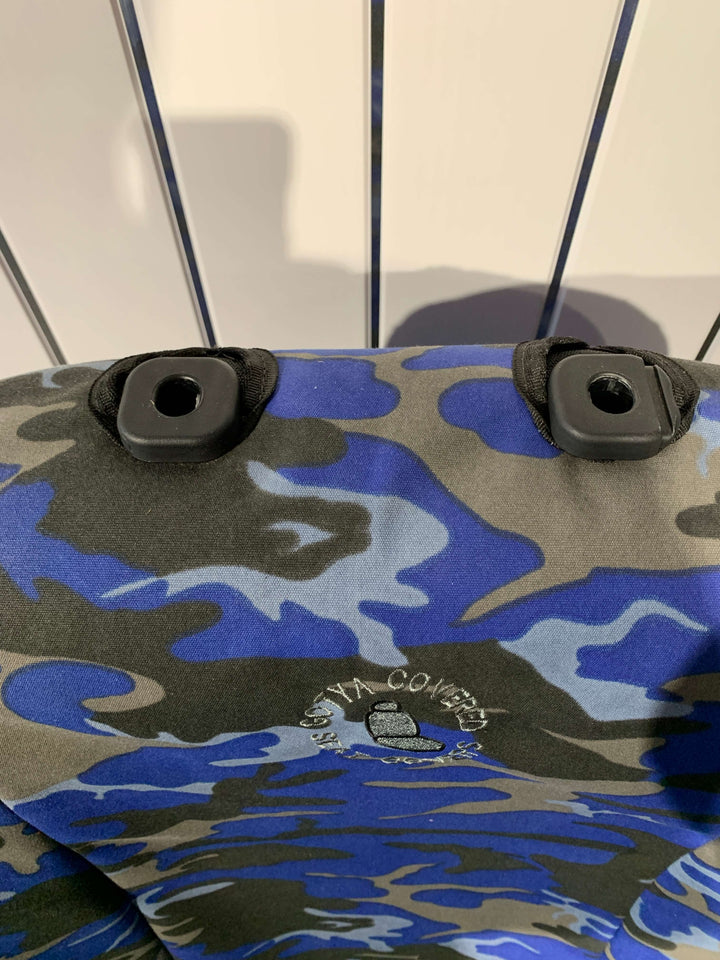
- Remove the headrest if needed and place the headrest cover over it.
- Slide the seat cover over the top of the seatback and pull it downwards.
- Replace the headrest before fully sliding the cover into place (the cover should fit snugly). Make sure the seams of the cover are lined up with the seams of the seat
- Push the front bottom flap through the gap between the seat back and base to the rear.
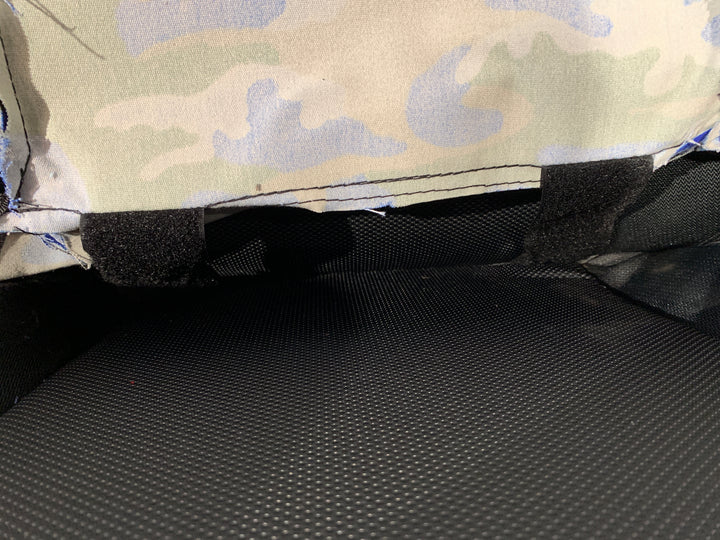
- Pull the flap tight and secure it to the Velcro inside the rear of the cover.
FITTING BASE OF SEATS

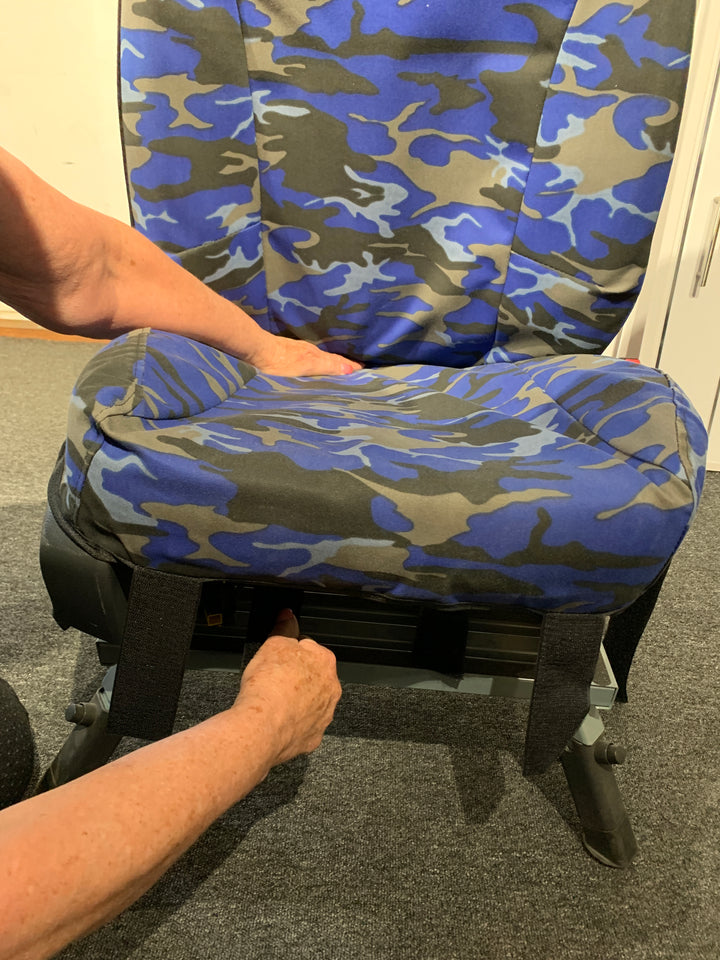
- Carefully slide the seat base cover onto the seat, ensuring it does not interfere with any levers or buttons.
- Push the rear flap through the gap between the seat base and backrest to the rear of the seat.
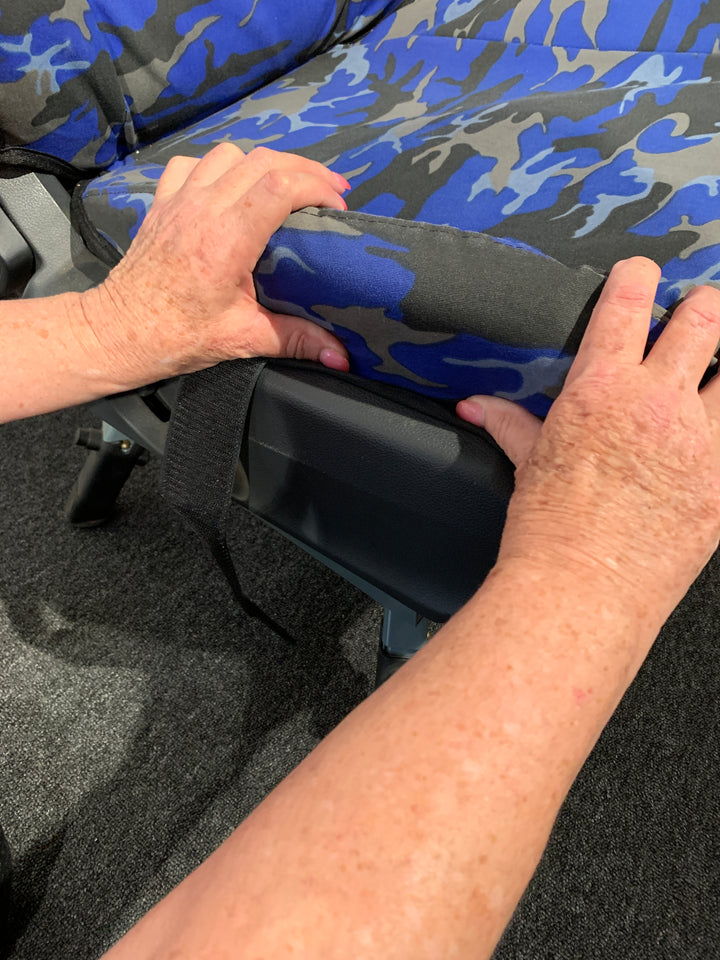
- Wrap both side flaps tightly around the seat base, making sure they remain clear of any levers or buttons.
- Secure the side flaps to the centre flap using the attached Velcro.
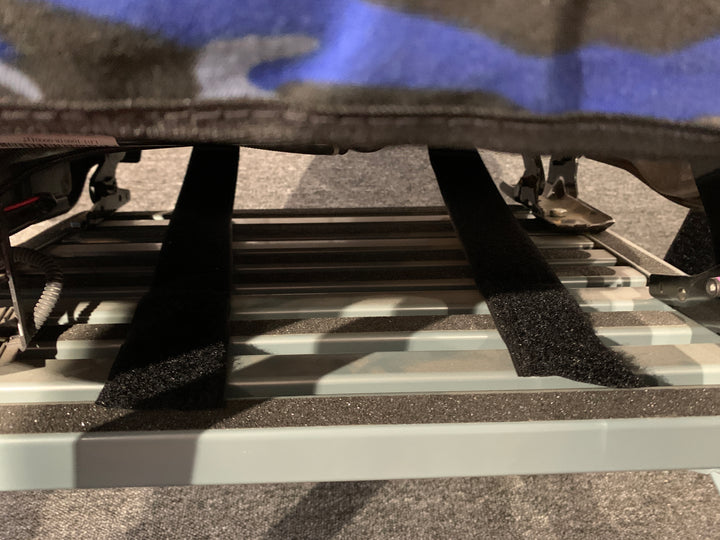
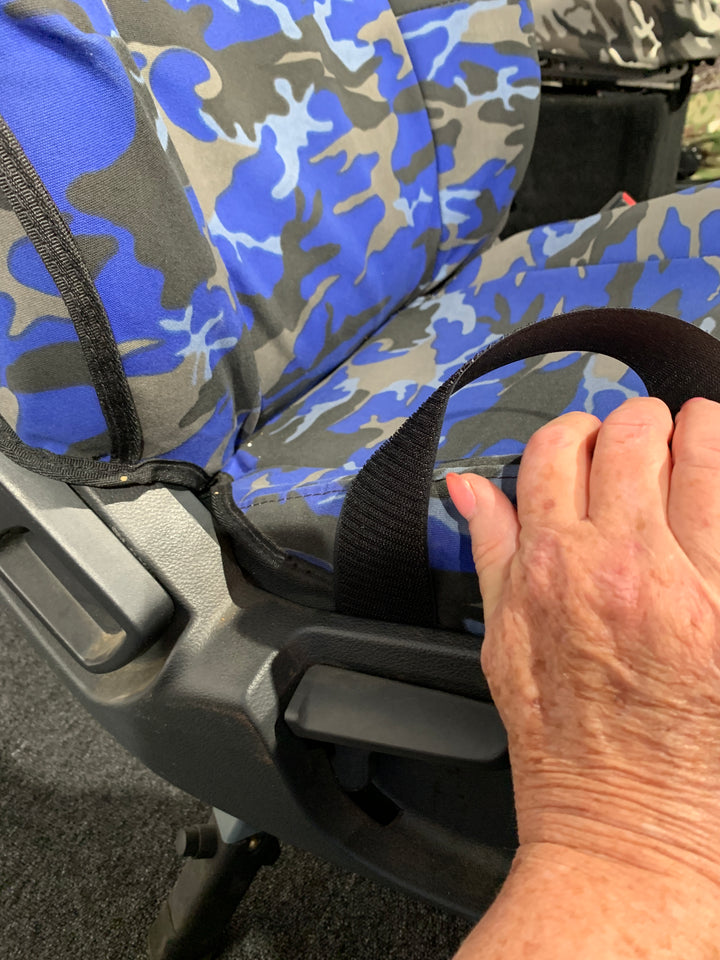
Some of our designs may not have side flaps and instead use a “tuck in” side border. This is to be tucked in behind the side plastic trim of the seat. Any side to side straps are to also tuck behind the plastic and fasten securely under the seat. - If straps are included, thread them under the seat, avoiding all tracks and fittings. Pull the straps tight and secure them to the opposite side. Test the seat's movement to ensure nothing is obstructed.
- For covers with joined cushions and backrests, slide the straps through the seam and fasten them underneath the seat.
TIP: When tightening the front to back straps, recline the seat forward and make sure the seam where the back and base are joined is pushed all the way back into the seat. This will give the best fit and make sure no area of the cushion is exposed
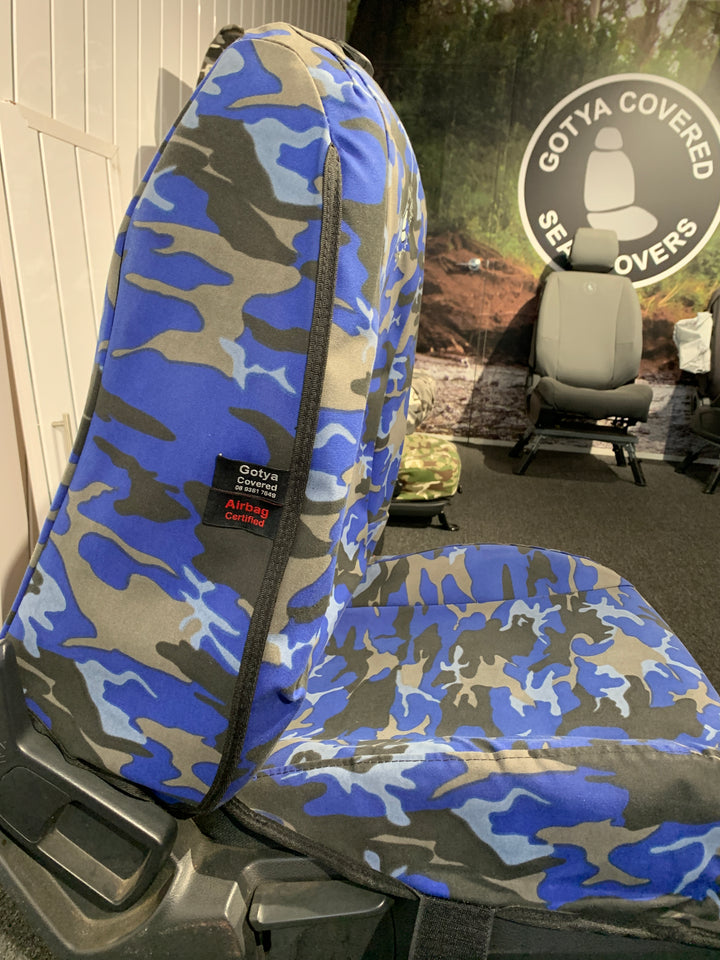
Explore the image gallery below for a visual demonstration - Over time, the seat covers will mould into the shape of your seats for a better fit. Occasionally check and re-tension the Velcro fasteners if needed.
SPECIAL CONSIDERATIONS FOR SEATS WITH AIRBAGS

- If the seat is equipped with airbags, ensure the seat cover's opening and “Airbag Certified” tag is positioned on the door side of the seat.
- Some newer vehicles are equipped with a dual driver airbag / centre airbag. The driver seat cover has openings on both sides of the cover, as well as two “Airbag Certified” tags.
Need More Details? We've Gotya Covered!
For a step-by-step guide, click the button below to head over to our fitting instructions blog for detailed tips and tricks. Prefer a visual walkthrough? Watch our video tutorial below to see exactly how we fit a custom seat cover-straightforward and hassle-free.
FITTING BLOGFAQs
Find commonly asked questions about fitting your Gotya Covered seat covers here.
Before installing your seat covers, clean your seats and vacuum them to remove any dust, dirt, or debris. Ensure all items are removed from seat pockets. Adjust the seats to a comfortable working position and remove headrests if required. This ensures a smooth installation and a secure fit.
If your seat covers feel loose, check all straps and Velcro fastenings to ensure they are properly secured. Make sure the cover's seams are lined up with the seams of your seat. Over time, the covers will mould to your seats for a better fit, but you may need to occasionally re-tension the fasteners for optimal snugness.
No tools are needed for installation. Our seat covers are designed to fit as straightforward as possible with simple hand adjustments and secure velcro fastenings.
No, our seat covers are designed to ensure they do not obstruct levers, buttons, or seat airbags. They allow access to armrest provisions and ISO fix anchor points. Depending on the fabric choice, they are also compatible with heated and cooled seats, allowing these features to function as intended. Simply follow the installation instructions to ensure a proper fit.
If you face any issues during installation, refer to our detailed fitting instructions or contact our friendly support team for assistance. We're here to help you get your seat covers fitted right! If you are based in Western Australia, you can visit us at our Welshpool factory where we can help you.
Got more questions?
Feel free to contact our friendly team, or check out our blogs/resources which we update monthly.
Contact Us Blogs